Table of Contents
ToggleStop Deck-to-Patio Leaks Before They Damage Your Home
Water that collects where your deck meets your patio does not stay outside forever. It finds the lowest path, which usually means your foundation, basement, or the framing under your deck. On Long Island, that often shows up as puddles at the sliding door, icy patches in winter, or soft, rotting boards near the house. Left alone, those small warning signs turn into bigger problems like mold, shifting pavers, or damaged siding.
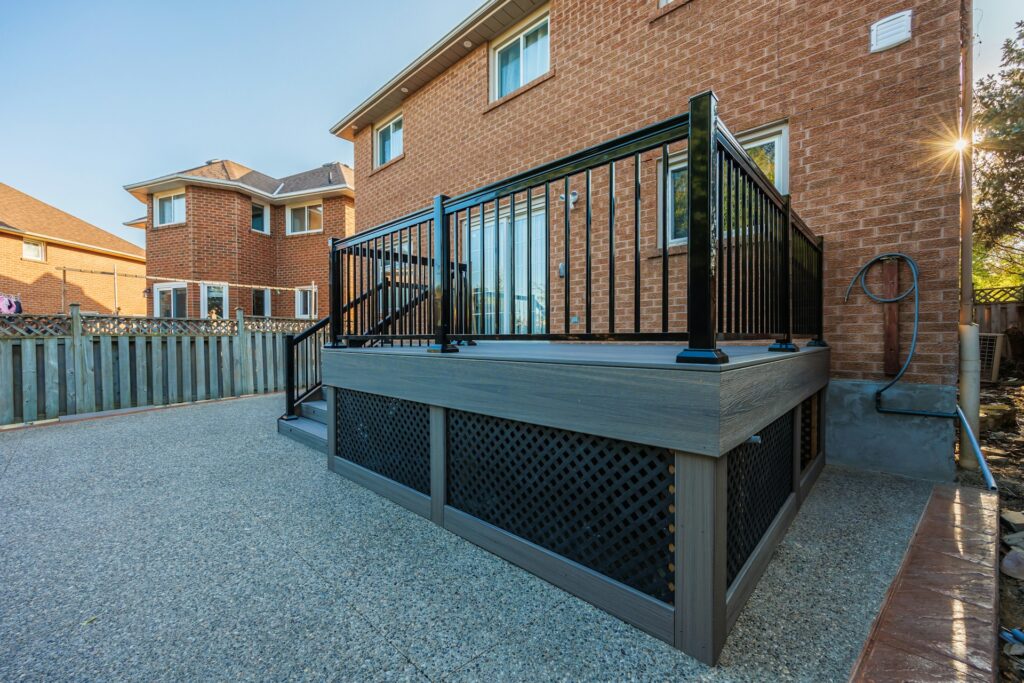
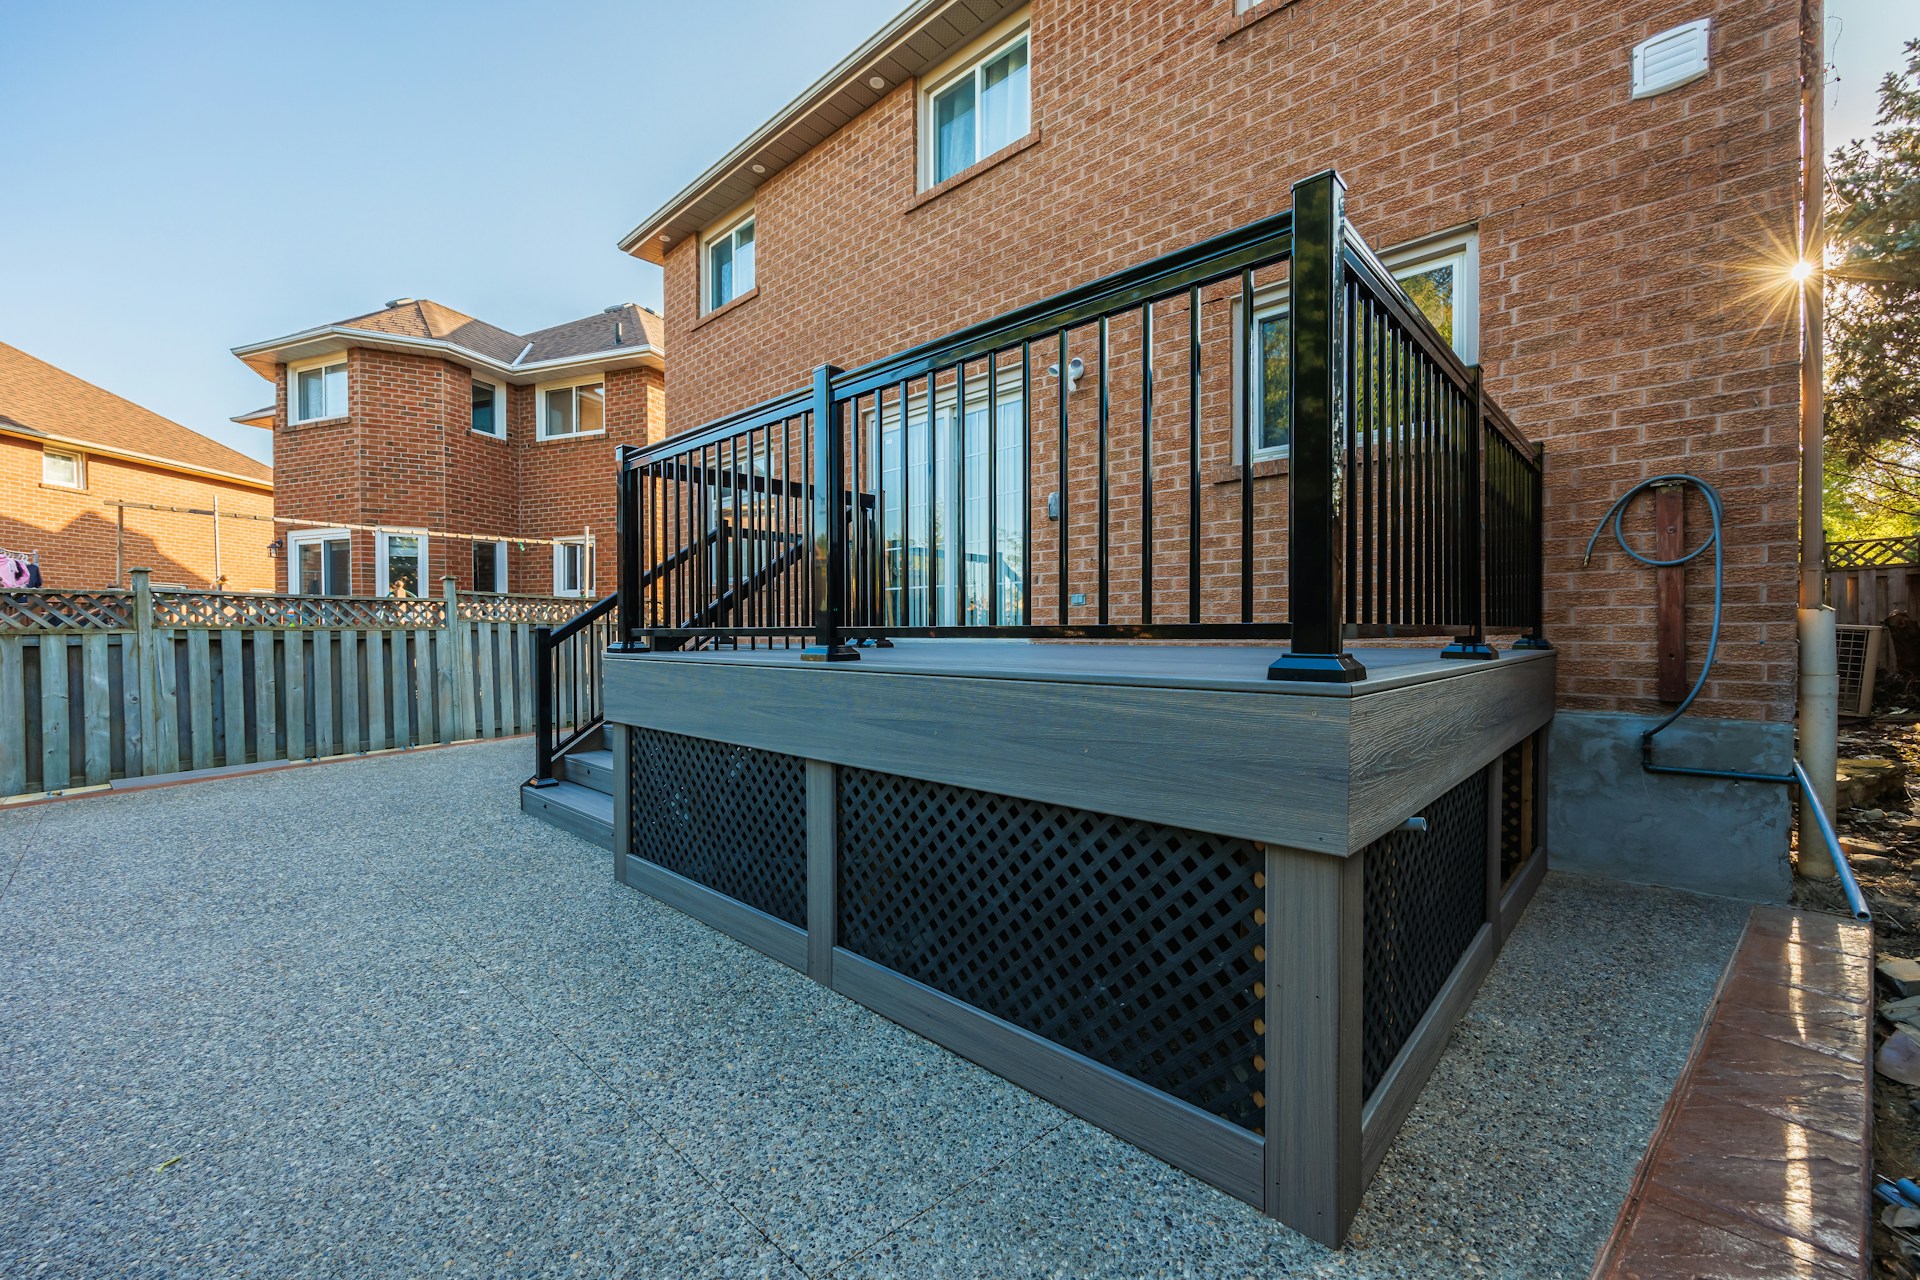
The transition where an elevated deck spills onto a lower patio is a high-risk zone. You have a door opening, house framing, a deck ledger, flashing, and hardscape all coming together in a tight area. If drainage and flashing are not done right, water pushes in from above, below, and sideways, especially during Nor’easter wind and rain. As a local deck contractor working in Huntington and across the North Shore, we see every version of this. In this article, we will walk through how to spot deck-to-patio drainage issues, what proper flashing and ledger details look like, how surface water should move, and when it is time to bring in a professional before the next round of storms.
How to Spot Deck-to-Patio Drainage Problems Early
The first clues often show up where the deck, patio, and house all meet. Outside, watch for:
- Standing water in front of your deck door or along the base of the ledger
- Green or black staining on siding, trim, or the deck boards near the house
- Spalling or flaking concrete at the patio edge, or heaving and rocking pavers
- Washed-out joint sand, small gullies, or loose soil at the base of deck stairs
Inside and below, the signs are easier to miss but just as serious:
- Musty or damp smells in the basement below the deck
- Dark, damp, or moldy wood near the sill plate or rim joist
- Soft, spongy deck boards when you step near the house wall
- Peeling paint or stains on the interior wall by the deck door
On Long Island, patterns change with the seasons. After heavy spring rain, you might notice water lingering on the patio for a long time. Late-summer storms can overwhelm small gutters and send water off the roof right at the deck-to-patio joint. Freeze and thaw cycles heading into winter can turn minor puddles into cracks, lifted pavers, and hidden ice.
You can do a couple of simple checks without taking anything apart:
- Run a gentle hose stream at the deck door and watch where the water goes
- Look at gutters and leaders during a storm to see if they overflow at the deck
- Time how long water sits on the patio after rain stops
If anything looks off, a local deck contractor who understands Long Island codes, wind-driven rain, and coastal drainage challenges is better suited for a full inspection than a general handyman.
Flashing, Ledger Details, and Smart Drainage Design
One of the biggest lines of defense at a deck-to-patio transition is the ledger flashing. Done right, there is a continuous metal flashing tucked behind the siding and over the top of the ledger, with end dams at the sides and a slight slope away from the house. This creates a layered path that sends water out, not into your framing.
Common problems we see around the North Shore include:
- Ledgers bolted straight through siding or sheathing with no flashing
- Heavy use of caulk in place of proper metal flashing and tapes
- Relying only on the door threshold sealant to keep water out
- Deck surfaces built too high, almost level with the interior floor
Best practice details at the house wall include:
- Self-adhered flashing tapes lapped with housewrap in a shingle fashion
- A ledger mounted above grade, with clear air space above the patio surface
- A gap between deck boards and the house so water and debris can escape
- Deck boards set below the door threshold so wind-blown rain cannot run straight in
Where the deck spills onto a patio, grading and heights are just as important as flashing. The patio surface should never cover the siding or any weep screeds, and required step heights must be kept so transitions stay safe. Water flowing off the deck needs a clear path away from the house, not a flat area where it can collect and run back toward your foundation.
Because the ledger is a structural connection, repairs here are not a good DIY project. There can be hidden rot, insect damage, or missing fasteners behind the finishes. Improper work can affect safety, code compliance, and even insurance if something fails.
Good deck-to-patio drainage design ties all the pieces together. When we plan these areas, we look at:
- Elevations: door thresholds, interior floor, deck height, and patio height
- Slope: patios generally need a gentle pitch away from the house
- Flow paths: water must have a place to go that is not back toward your siding
Drainage features that often help at these transitions include:
- Channel drains at the base of deck stairs or just off the door landing
- French drains or gravel trenches along the house where space is tight
- Properly sized downspout extensions and leader lines routed away from the joint
Materials matter too. Permeable pavers, open-joint systems, and gravel bands can work very well with Long Island’s coastal soils when the base and outlet are designed correctly. In some areas, sandy soil drains quickly. In others, compacted fill or clay pockets hold water on top. A local team that handles both deck building and masonry is in the best position to plan these systems together, especially on tight North Shore lots with steep grades and limited spots to daylight drains.
Surface Water, Repairs, and Common FAQs
Long Island adds a few extra wrinkles. High water tables in some neighborhoods and tidal influences near the Sound can keep soil damp even when it has not rained. Heavy, wind-driven storms can push water sideways into gaps that would stay dry in calmer weather. That is why roof water control matters as much as patio slope.
Good surface water control around your deck-to-patio transition usually includes:
- Gutters that are clear and sized for your roof area
- Leaders that do not discharge right at the edge of the deck or patio
- Dry wells or other outlets that keep runoff away from the foundation
Where patios hold water, there is often compacted fill, buried debris, or pockets of clay under what looks like sandy soil. Fixing that usually means more than a quick surface patch. Base remediation, subsurface drains, or catch basins may be needed so ponding does not keep returning.
Winter adds another concern: ice. Poor drainage at steps and landings can create black ice, which is hard to see and very slippery. Better grading and drainage reduce how much de-icer you need and keep paths safer.
Over time, even a well-built system needs care. A basic maintenance plan should include:
- Seasonal checks of channel drains, downspouts, and leader lines
- Clearing leaves and debris from stair treads, landings, and drain grates
- Inspecting paver joints, grout, and caulking for cracks or gaps
At some point, you may wonder if you need repair or a full rebuild. A small, localized flashing issue might be solved by opening a short section of siding and ledger. But if the deck structure is soft, the patio has settled toward the house, or water is getting into your basement, a more complete redesign of the transition is often the honest fix.
A local deck contractor with masonry and landscape experience can walk the site, take moisture readings, check elevations, and see how all of the pieces are working together. That kind of full look usually saves money over time because it catches related issues before they become structural problems.
Here are some quick answers to common questions we hear:
How do I know if my deck ledger is leaking where it meets the house?
Look for staining or mold on the siding, soft wood at the ledger, or interior wall problems near the deck door. Often the area has to be opened from below or outside to know for sure.
Can I just add more caulk around my deck door instead of new flashing?
Caulk alone is a surface fix. It breaks down and cannot replace proper layered flashing. It might slow a leak for a short time but usually does not solve the real problem.
What slope should my patio have away from the house?
Most patios are designed with a gentle pitch so water moves away, not toward your siding. Exact slope can vary based on site and accessibility needs, so it should be designed for your specific conditions.
Is permeable paver construction a good idea near my deck on the North Shore?
Permeable systems can work very well when the soil and outlet are right. In areas with high groundwater or tight subsoils, they may still need subsurface drains to perform as expected.
When should I call a local deck contractor instead of a plumber or roofer for drainage problems?
If the symptoms are at the deck, patio, door, or siding near the transition, a deck and hardscape contractor is usually the best starting point. Plumbers handle interior piping, and roofers handle the roof surface and flashing higher up. The deck-to-patio zone is its own specialty.
By understanding how flashing, ledger details, grading, and surface water control all work together, you can keep your deck, patio, and home drier and safer through every season.
Get Started With Your Project Today
If you are ready to upgrade your outdoor space with a custom deck, our team at Pure Masonry & Landscape Contractors is here to help. As your trusted local deck contractor, we listen carefully to your goals and guide you through every step, from design to final build. Tell us about your project and timeline, and we will provide a clear, straightforward plan that fits your needs. To start the conversation, simply contact us and we will follow up promptly.